
Introduction
Shopify store owners often chase a 100/100 PageSpeed score. It is the wrong target.
A live Shopify store with products, apps, and customer reviews will rarely hit 100/100 on mobile and chasing it often leads to removing things that are good for your business, like review widgets and payment method icons, just to squeeze out a few extra points. The score does not matter as much as what it represents.
What actually matters is your Core Web Vitals, specifically how fast your largest page element loads (LCP), how stable your page is as it loads (CLS), and how quickly it responds to taps and clicks (INP). These are the metrics Google uses to assess your store. Mobile scores above 70 are solid. Above 90 is excellent. Getting there on a real Shopify store is achievable. Getting to 100/100 on a store with a real product catalogue and a working app stack is not.
This guide was put together by the KiwiCommerce team, Shopify Experts based in Cheshire, UK, with 250+ eCommerce projects delivered since 2016. It covers every practical fix that actually moves the needle, in the order that makes the most difference.
Step 1: Check Your Current Speed First
Before changing anything, get a baseline. You need a number to measure improvement against.
Three tools cover this well. The first is Google PageSpeed Insights go to pagespeed.web.dev, enter your store URL, and run the test. Check the mobile score specifically, not just desktop. Desktop scores are typically 15–20 points higher than mobile on the same store, and mobile is where most of your shoppers are. The results page shows your Core Web Vitals scores alongside a list of specific issues, ranked by how much they are slowing your page.
The second is your Shopify admin’s built-in speed report. Go to Online Store > Themes in your Shopify admin. You will see a Web Performance report with your Core Web Vitals scores, pulled from real visitor data over a 28-day rolling period. This is real-user data, which is more useful than a synthetic lab test for understanding what your actual customers experience.
The third is GTmetrix, which gives you a waterfall chart a visual breakdown of every resource loading on your page, in order. It makes it easy to spot the specific images, scripts, or third-party apps that are slowing things down. The free tier covers what most stores need.
Run all three before touching anything. Save the results. Every change you make after this point should move these numbers in the right direction.
Step 2: Audit and Remove Unused Apps
Apps are the single biggest cause of slow Shopify stores in 2026.
Every app you install adds JavaScript to your storefront. That JavaScript loads on every page, even on pages where the app does nothing useful. Some apps are well-built and load efficiently. Many are not. And apps that you have uninstalled often leave code behind in your theme, continuing to load on every page even though the app itself is gone.
Go through every app currently installed in your Shopify admin. For each one, ask one question: is this app directly earning its place, driving revenue, reducing returns, or solving a problem that would cost more to leave unsolved? If the answer is not clearly yes, remove it. If you are not sure, disable it for two weeks and see what happens.
After removing each app, run Google PageSpeed Insights again and compare the score. Removing apps is usually the fastest way to see meaningful improvement, often 10–20 points per removed app if the app was loading poorly-optimised scripts.
After uninstalling apps, check your theme’s Liquid code for leftover script tags. If you are not comfortable doing this yourself, a Shopify developer can clean orphaned code from your theme in a few hours.
Step 3: Fix Your Images
Images make up the majority of page weight on most Shopify stores. Several things slow images down unnecessarily.
The most common is uploading images at the wrong size. If your theme displays product images at 800×800 pixels on a product page, uploading a 3,000×3,000 pixel image and letting Shopify resize it wastes bandwidth. Resize images to roughly double your display size before uploading; 1,600×1,600 pixels for a product image displayed at 800×800 pixels covers retina screens without the unnecessary overhead.
Shopify automatically converts images to WebP format and serves them to browsers that support it, which covers the vast majority of modern browsers. This happens automatically; you do not need to convert images yourself. What you do need to do is start with a good source image. A high-quality JPEG at the right dimensions gives Shopify’s CDN the best material to work with.
Check your hero image specifically. The large banner image at the top of your homepage is usually the Largest Contentful Paint element the thing Google is measuring when it calculates your LCP score. A hero image above 150KB is worth compressing further. You can use a free tool like Squoosh (squoosh.app) to compress images before uploading, reducing file size without visible quality loss. This fits naturally into your upload workflow and takes seconds per image.
Lazy loading, delaying images below the fold from loading until the user scrolls toward them, is built into Shopify themes from 2021 onwards. If you are on an older theme, this may not be active.
Step 4: Choose a Fast Theme (or Clean Up Your Current One)
Your theme determines how much JavaScript and CSS Shopify loads on every page. Some themes are built for visual impact. Others are built for performance. The difference shows up directly in PageSpeed scores.
Shopify’s own themes Dawn, Sense, and Craft are built with performance as a core requirement. If you are on a heavily customised older theme or a third-party premium theme that has never been audited, switching to a modern Shopify theme can improve load time significantly without any other changes.
If a full theme switch is not practical, an audit of your current theme’s Liquid code can identify unnecessary scripts, redundant CSS, and render-blocking resources that can be cleaned up without changing the design. This is developer work but targeted and faster than it sounds for a well-structured theme.
Render-blocking resources are scripts that force the browser to stop and wait before it can display the page. JavaScript and CSS files that load before the content is visible are the most common culprits. Moving these to load after the page content, “deferring” them, removes the block without affecting functionality in most cases.
Step 5: Consolidate Tracking Scripts
Tracking scripts are a hidden performance cost on most Shopify stores.
If you run Google Analytics, Meta Pixel, TikTok Pixel, and Pinterest Tag separately, each one adds load time to every page. Using Google Tag Manager to fire all tracking through a single container reduces the number of separate script requests. Each script eliminated from loading individually is a small but real speed gain.
Server-side tracking moves tracking data collection to the server rather than the visitor’s browser, reducing the number of scripts running on the storefront. This is more complex to set up but worth considering for stores with four or more tracking pixels running simultaneously.
Step 6: Use Shopify's CDN Properly
Shopify hosts your store’s assets, images, CSS, and JavaScript files on a global content delivery network (CDN). This means files are served from a location close to your visitor, which reduces latency. This happens automatically. You do not need to configure it.
What you can control is what goes through the CDN. Files hosted externally, fonts loaded from Google Fonts, scripts loaded from third-party servers, and images stored on external platforms do not get the CDN benefit. Where possible, host files directly in Shopify so they load through the CDN.
Google Fonts, specifically, add an extra DNS lookup and potentially a render-blocking resource. If you use a single Google Font across your store, consider downloading it and self-hosting it through Shopify’s file uploader instead. This removes the external dependency from your page load.
Step 7: Review Your Checkout and Payment Setup
Checkout pages are often the slowest pages on a Shopify store, and they are also the most commercially important.
Third-party payment method icons, trust badge apps, and custom checkout scripts all add weight to the checkout. Each one is worth questioning. A trust badge that adds 200ms to checkout load time needs to be earning more than that in conversion improvement to justify its place.
If you are on Shopify Plus, checkout customisation is done through Shopify’s Checkout Editor and Shopify Functions, a cleaner approach than the old checkout. liquid method, and one that is built with performance in mind. Review how many apps are injecting code into your checkout specifically.
For UK stores, make sure your payment method setup is clean. Multiple payment apps loading their own scripts at checkout is a common source of slow checkout pages. Our Shopify Payment Gateways guide covers the UK payment landscape if you are reviewing your setup.
Step 8: Keep Optimisation Ongoing
Speed optimisation is not a one-time project.
Every new app you install, every new campaign you set up, and every Shopify update that changes how your theme loads resources can affect your score. The stores that maintain good PageSpeed scores over time are the ones that treat speed as a regular part of their maintenance routine, not a project that gets done once and forgotten.
A practical approach: run Google PageSpeed Insights once a month on your homepage and your top product page. Set a score threshold, say, mobile above 65 and investigate whenever you drop below it. After any new app installation, run the test immediately and compare the score before and after.
KiwiCommerce’s Shopify Maintenance Services include ongoing performance monitoring for stores on active retainers, which removes the need to manage this manually. If your store needs a one-time optimisation audit and fix, our Shopify Performance Optimisation service covers this as a standalone engagement.
What Score Should You Actually Aim For?
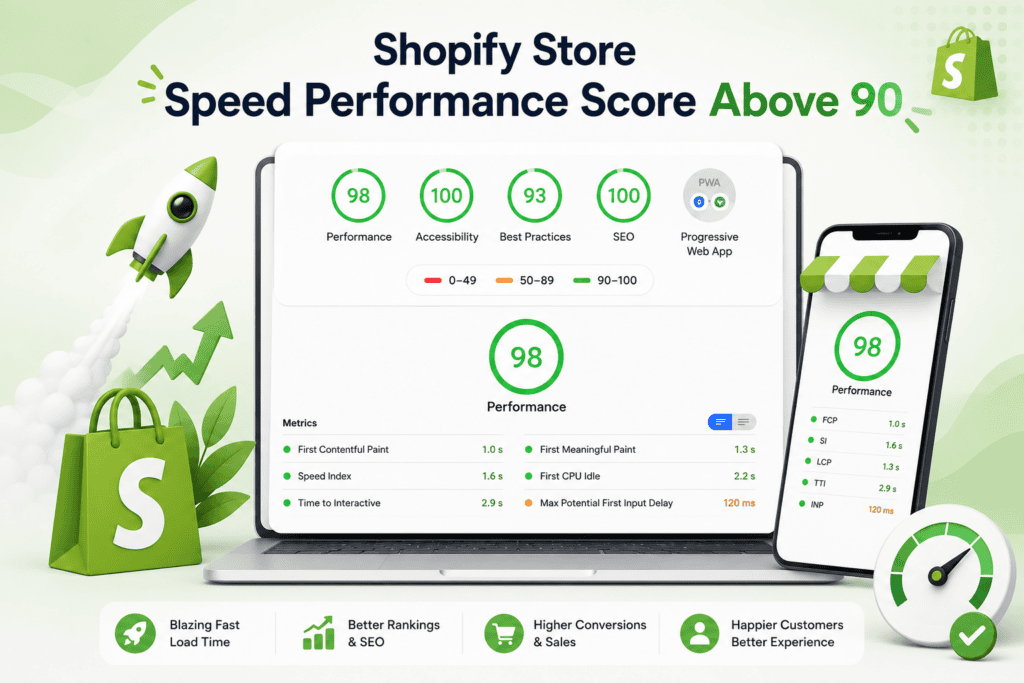
For a real Shopify store with products, reviews, payment icons, and a reasonable app stack these are realistic targets:
Mobile PageSpeed score: 60–75 is solid after optimisation. Above 75 is excellent. Above 90 on mobile requires either a very minimal store or a significant investment in custom theme development.
Desktop PageSpeed score: Usually 15–20 points higher than mobile on the same store. Above 85 is achievable for most stores. Above 95 typically requires a custom-built, heavily optimised theme.
Core Web Vitals targets: LCP (Largest Contentful Paint) under 2.5 seconds is the threshold for a “Good” rating. CLS (Cumulative Layout Shift) below 0.1. INP (Interaction to Next Paint) below 200ms.
These are the numbers that affect your Google rankings and your conversion rate. The PageSpeed score is a guide to getting these right, not the goal itself. A store scoring 68 on mobile with LCP at 2.3 seconds is performing better commercially than a store scoring 72 with LCP at 2.8 seconds.
When to Bring in a Developer
Most of the steps above can be done by a store owner without developer help. Apps are removed in the admin. Images are resized before uploading. Shopify’s built-in tools require no code.
Some fixes require developer work. Cleaning orphaned app code from your theme Liquid files. Deferring render-blocking scripts without breaking functionality. Setting up server-side tracking. Building a custom theme from scratch with performance as the primary brief.
If your mobile score is below 50 after doing the app and image fixes yourself, the remaining issues are almost certainly in the theme code or JavaScript loading which requires a developer to address properly. Our Hire Shopify Developers page covers the options for both short-term audit work and ongoing development support.
For Shopify Plus stores needing deeper performance work including checkout optimisation and custom Liquid builds our Hire Shopify Plus Developers page covers dedicated resource options.
Getting Your Shopify Store Performing at Its Best
Speed optimisation is one of the highest-return improvements you can make to a Shopify store. Faster pages rank better, convert better on mobile, and hold visitors longer before they leave.
The steps in this guide cover what can be done without developer help. If your store needs deeper work theme-level code cleanup, server-side tracking setup, or a full custom build optimised for performance from the ground up the KiwiCommerce team can help. Get in touch with the KiwiCommerce team to discuss your Shopify store’s performance.


 Alex
Alex